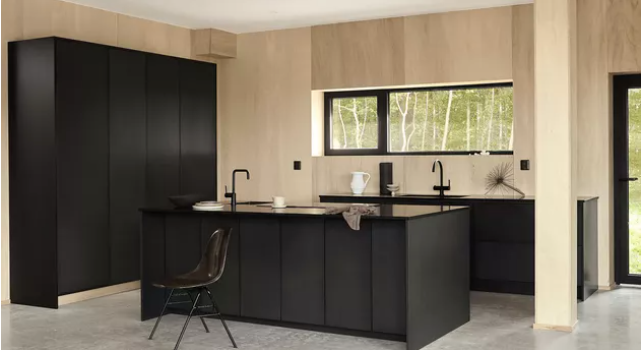
We have a marble surface at home and we know how elegant and beautiful this natural stone is. Marble is an excellent choice adding a sense of timeless and luxurious beauty in various home areas and can be found in marble countertops, on a marble bar top, or on a backsplash. A marble vanity will compliment the elegant style of your bathroom and last but not least, marble is a visually appealing stone which makes it a great choice for your fireplace. Modern bathrooms use this natural stone a lot in tiles and flooring. A marble floor is another common surface that homeowners choose for their flooring as it offers endless durability and elegance.
Occasionally nicks, chips, cracks, and small holes may occur in marble as well as other natural stone surfaces, and most people are unaware which products could use to cure and fix the damage.
HIMG® DIY Marble Surface Repair Kits utilize high-tech Light Cure Acrylic technology to cure with a specific spectrum of LED light. Once cured, light cure acrylic material can withstand moisture, cleansers ad heat up to a maximum of 285°F.
These are non-toxic and non-epoxy repair kits which simply means that are not harmful for use. In addition to epoxy products, they are 100% approved for use in food preparation areas, the repairs will not yellow or fade over time and they can work in both cold and hot temperatures.
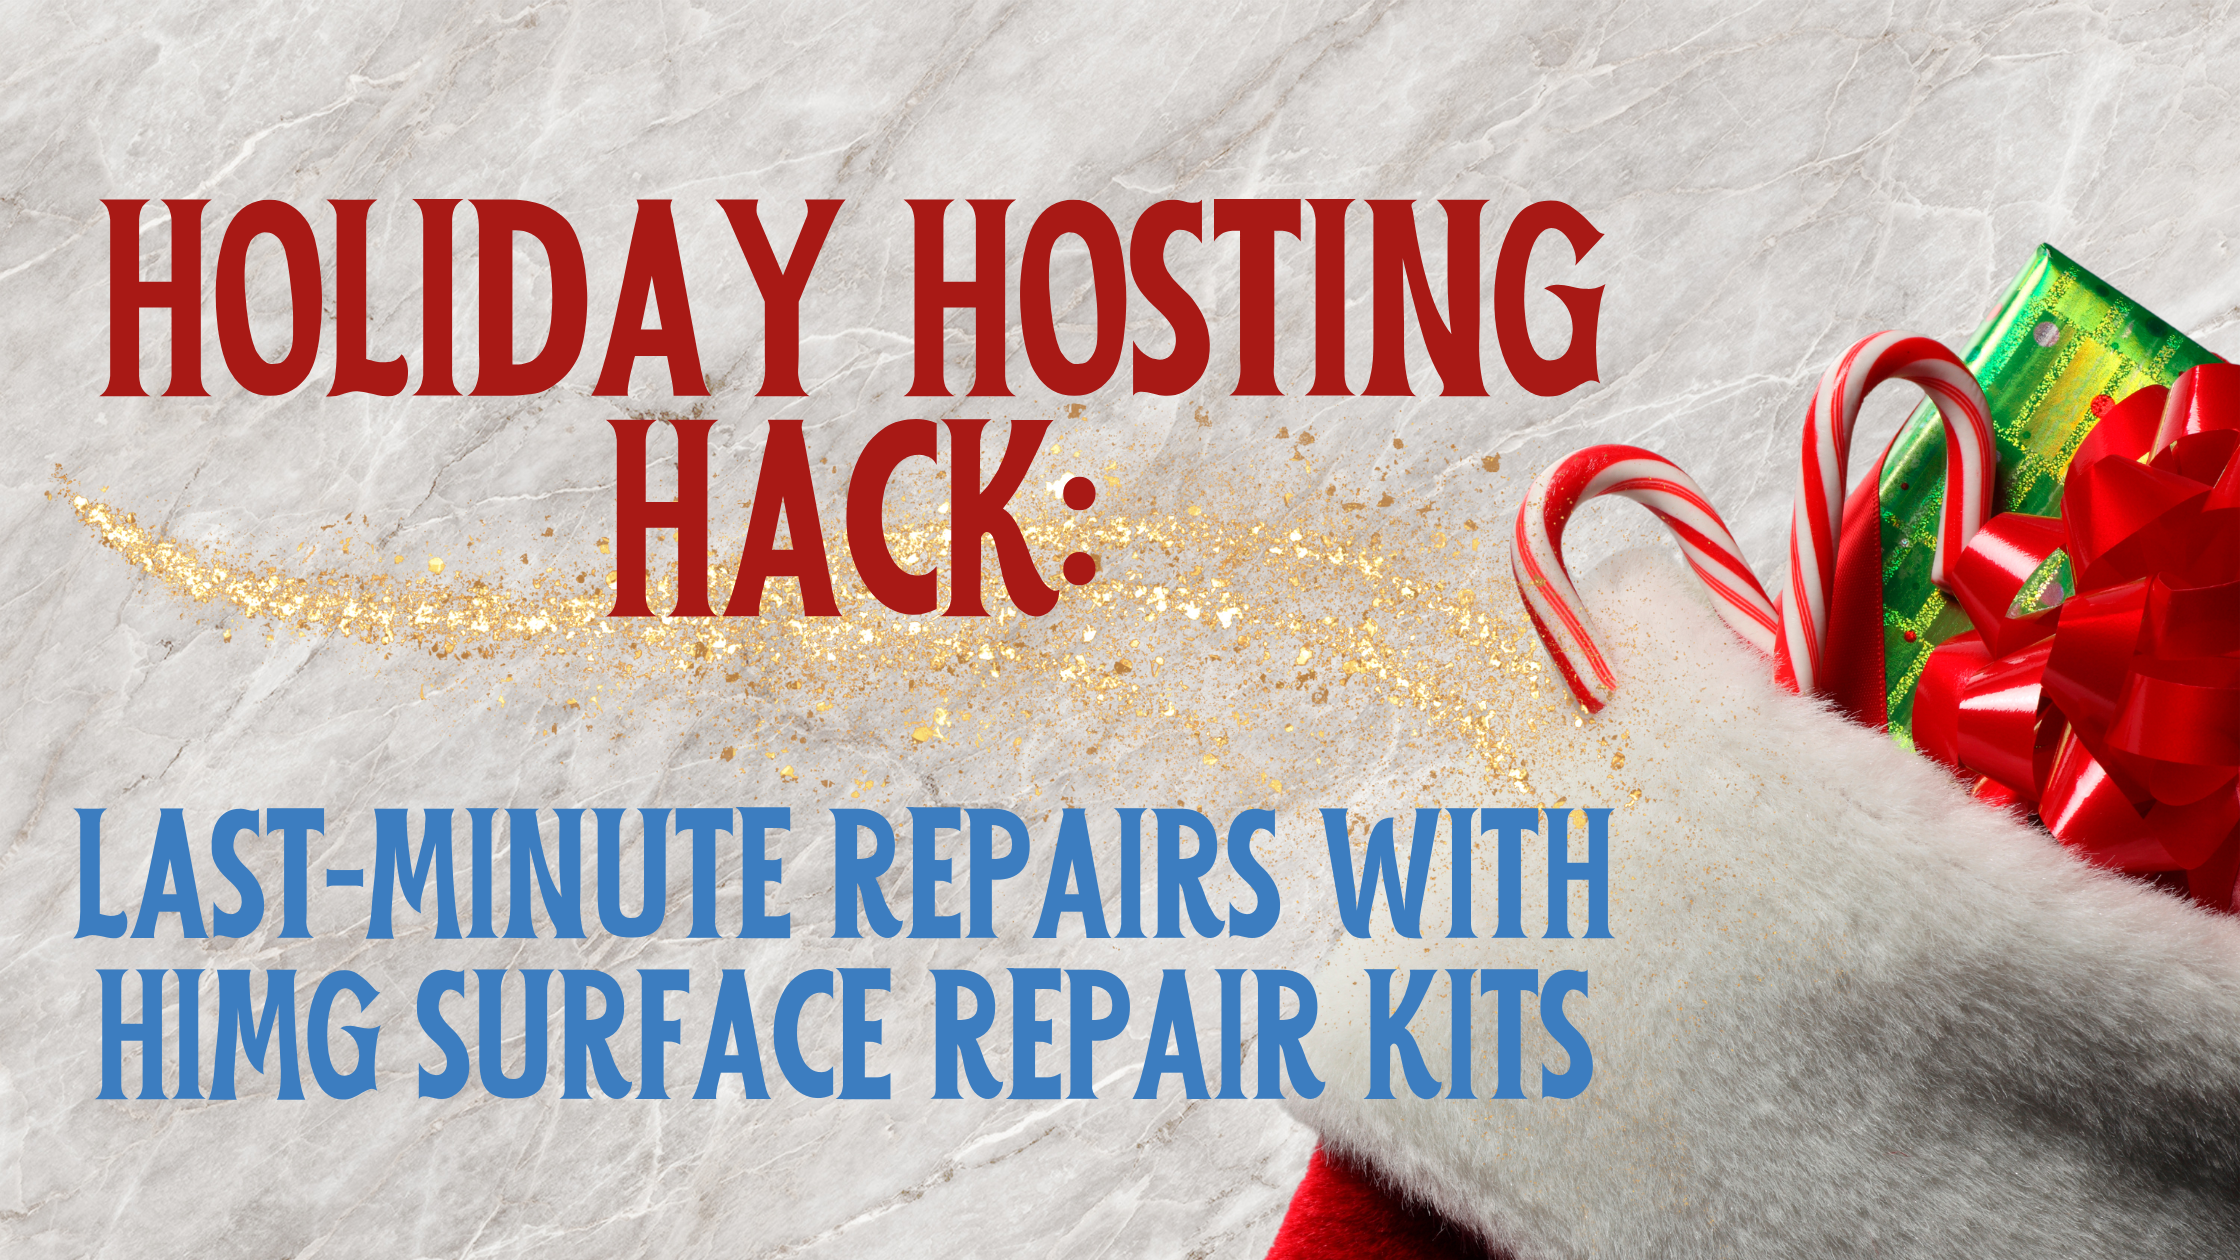
HIMG® offers an awesome DIY easy to use, environmental safe repair kit for individuals and DIYers who can save both money and time.
Each marble surface repair kit contain the following components :
• 1 gram syringes of Light Cure Acrylic ™ in Clear
• 1 syringe of polish paste
• a LED curing light
• a LED Light Stand
• wood applicator tool
• non-scratch sandpaper
• high gloss sandpaper
• a curing strip
• one micro tip
• a polish cloth
• repair instructions
Simply follow the step by step detailed instructions you will find inside the pack and we can guarantee the results.
Step 1 Prepare the surface
Step 2 Apply Light Cure Acrylic
Step 3 Add Curing Strip
Step 4 Cure with LED light
Step 5 Remove curing strip
Step 6 Sand
Step 7 Polish
Please watch our video and learn more information about the marble repair kits.