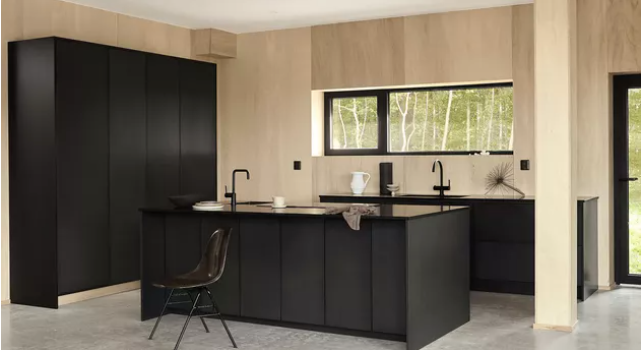
Granite countertops in kitchens are quite common today because granite is a very strong material and doesn’t chip or scratch easily. In addition to being heat resistant, stain resistant and moisture resistant, granite countertops are also a cost effective solution for a sophisticated and unique look in your kitchen.
On the rare occasion that you find a chip, nick or small defect in your granite countertop, rest assured you don’t need to replace the whole countertop. Instead, you can repair granite countertops easily and effectively.
Here’s how to repair granite countertops in 7 simple steps:
- Prepare the surface
- Apply Light Cure Acrylic
- Add Curing Strip
- Cure with LED light
- Remove curing strip
- Sand
- Polish
1. Prepare the Granite Surface
Clean the defect and around the area so that it is free from dust and dirt. Make sure the area is completely dry before proceeding to step 2. If you're looking for the perfect color match, also see this post.
2. Apply Light Cure Acrylic
Light Cure Acrylic is an effective repair material for nicks, gouges, chips, and scratches in granite, and also in marble, porcelain, corian, travertine and other natural stone and acrylic surfaces. LCA™ is non-toxic and completely safe for food prep areas, so your granite countertop in the kitchen will be perfectly safe after the repair.
Place an applicator tip on the Light Cure Acrylic™ syringe and apply a small amount of repair acrylic in the granite defect. For best results, DO NOT OVERFILL. A perfectly filled and cured repair will not require sanding or polishing. We suggest that you make repairs in small sections, no larger than 1/4” or 6mm. Deeper damages will require curing in layers. Additional colors of Light Cure Acrylic™ repair material can be purchased for color blending applications.
3. Add Curing Strip
Place a curing strip on top of the uncured Light Cure Acrylic. Using a small wooden stick, gently touch the top of the curing strip to help push the repair material into the damage. If your damage is larger than a curing strip, you can use clear packing tape, folded sticky side to sticky side. Packing tape is also helpful when repairing an edge, used as a retaining wall to hold the repair material in place.
4. Cure with LED light
Focus the blue light just above the curing strip. The Light Cure Acrylic will not cure on its own. Exposure duration will depend on the size of the damage in the granite, but it is safe to start with 5-7 minutes. Before removing the curing strip, use the wooden stick to test for hardness. Additional LED exposure may be needed, especially for larger damages. We recommend focusing the LED light in different sections of the damage.
5. Remove the Curing Strip
Remove the curing strip and verify for a complete cure. If the repair remains tacky after additional LED exposure, you may use rubbing alcohol to gently wipe the repaired surface.
6. Sand
Use yellow 220 grit sandpaper to remove any over filled material. Rub in gentle circles. For increased shine, use grey 2000 grit wet sanding paper with a dab of water. Be extremely careful when sanding softer surfaces as hazing or scratching may occur if you are too aggressive. For best results, sand the repaired area to make it level with the surrounding granite.
7. Polish
Gently apply a few drops of polishing paste on the repaired area to wipe away dust while polishing the repaired granite for maximum shine.
NOTE: It is important to follow each step to ensure an efficient granite countertop repair and get optimal results. If tackiness remains after full curing duration, wipe with rubbing alcohol then sand and polish as directed above.
After this your granite countertop will be as good as new and people who didn’t know where the defect was will have a hard time finding it.
If you prefer to watch a video, try the one below or see more videos here.